Wednesday, May 25

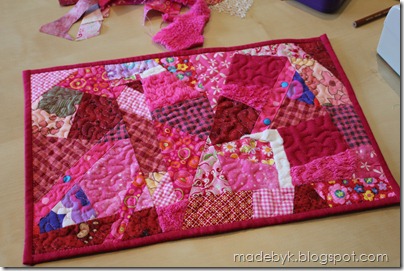
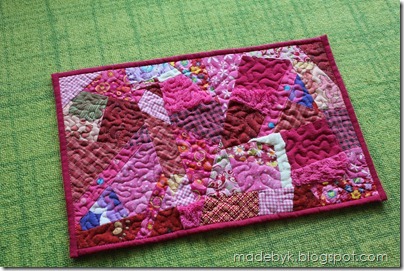
Pink Doll-Size Crazy Quilt

IMG_6040

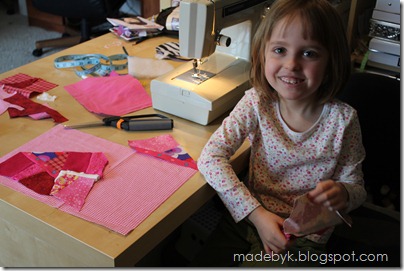
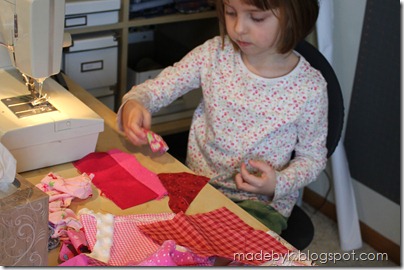
I came downstairs recently to find Sophie in my little corner. She’d sorted through my stash of scraps, looking for ones of interest, and was arranging them…

IMG_6023

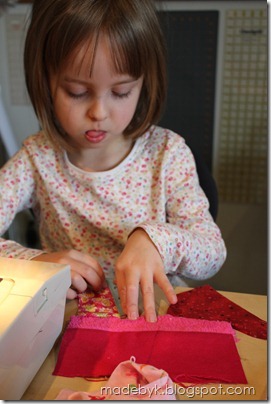
…and measuring them as needed. (Slightly sticking tongue out improves measurement capabilities tremendously.)

IMG_6028

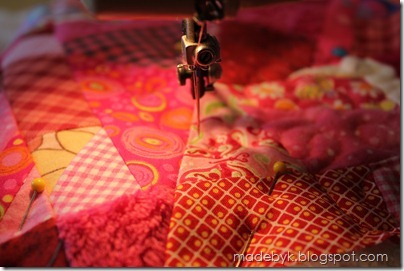
Looked like a great time to make a crazy quilt with her. So we cut out a backing piece – so we’d know what size and shape we were trying to get to – and then started sewing pieces together. She’d pick a fabric and point out where to put it, I’d help her figure out how to place it, we’d sew it on together – me doing most of the fabric-guiding near the presser foot and her doing most of the pedal-pushing to get the needle going and stopping.

IMG_6034IMG_6031IMG_6035

With just about a quarter of the top left to fill up, she decided it was time to play outside with her sisters, so I asked her if I could finish it up, and lucky for me, she said yes.

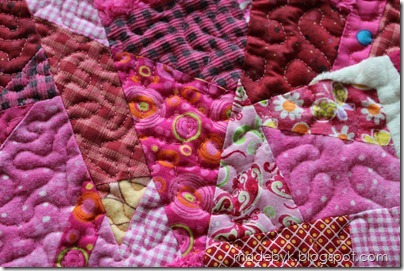
Once the top was complete, I ventured into stipple quilting again, which I haven’t done since the Crafty Raven game “board” more than three years ago. Hmm, I should probably get a darning foot for my machine, eh? I managed to stipple-quilt the whole thing without stippling my finger under that totally exposed needle, but I do NOT recommend this technique…

IMG_6037

She likes it because it’s pink (and she made it). I like it because each of the tiny scraps reminds me of projects past (and I made it with her).

IMG_6041IMG_6042

So now Snuggle Bear has something to keep him warm at night.
IMG_6038

Sunday, May 22

Folded Bascetta Star: Sheet Music Edition

IMG_6836

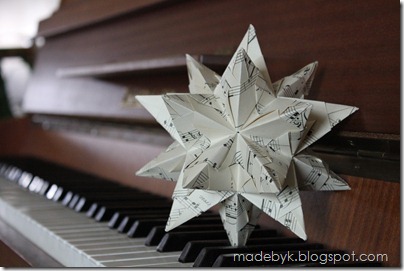
A while back as I was catching up on some good blog reads, I fell in love with these bascetta stars that Miss Muffin made, right down to the yellowed sheet music she’d used as her paper.

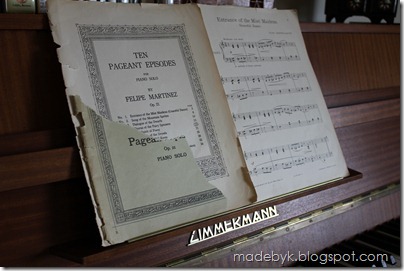
Happy day – during a recent decluttering session, I came across some old piano sheet music that was literally falling apart at the seams. I plunked out a few of the songs and was reminded that I didn’t really like them much. So I’m not sure why I kept the music, but I’m so glad I did!

IMG_6819

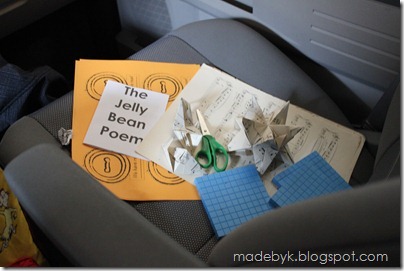
Each star requires 30 squares that are folded individually, then assembled. So while waiting to pick up children, I was busy.

IMG_6822

And now I want to make many many more! Thanks for giving me the idea, Ulli!

IMG_6829

P.S. I watched this great youtube video by Jo Nakashima to learn how to fold them. I think my squares were about 10cm (~4”) square.

Tuesday, May 17

A Strange Exchange…

Dear Blog--

Yes, I see you sitting there all alone without many visits from me. And it makes me a little sad.

But here’s the deal. I have a big project going on right now (which I can’t talk about with you yet – sorry).

And at the same time, Kenny and I have decided to finally tackle all the tasks we’ve been meaning to do around the house and yard “someday.”

And at the same time, Kenny and I have decided to start exercising each evening. (I’m not liking it very much, but I hear it’s good for me.)

And at the same time, I still have all my other responsibilities and activities of course.

So time has been more scarce than usual. And you’re usually the first thing to fall to the wayside.

Missing you,

Karin

Dear Karin--

Remember, I am a blog.

I’m not going anywhere.

Come see me when you can.

-Blog.

Dear Blog--

Thanks! You’re the best!

Relieved,

Karin

Dear Karin--

I know.

Go to bed.

-Blog.

Tuesday, May 3

Next Time My Kids Are “Careless” I Will Remember…

…accidents happen!

IMG_6486

Can you believe it?!?

I did that!!!

How many times over the years have I told my kids to “back up from the cake”?!?

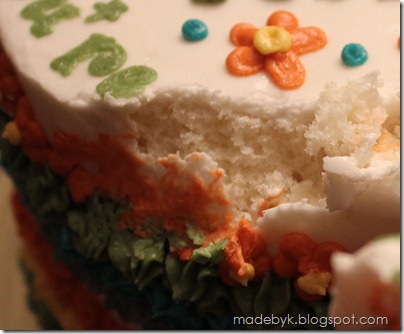
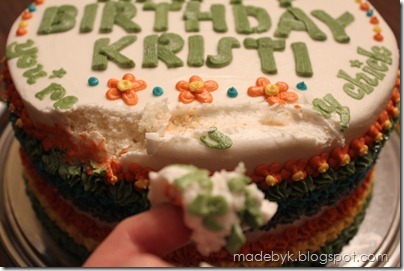
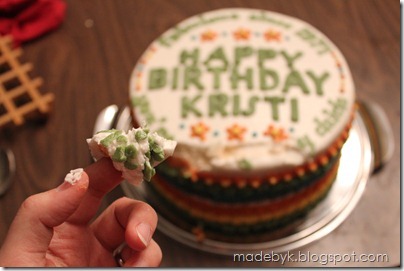
And then I’M the one to hook a 6-inch gash into this one. Front and center!!!

IMG_6486

One minute, I’m clearing things off the table so I can put a tablecloth down and take a few pictures of the finished cake.

Next minute, I’m staring speechlessly at a huge glob of frosting and cake on my index finger.

IMG_6485

Eventually, I recovered from my shock.

I stared at the gash.

I stared at my finger.

It could have been a LOT worse!

I licked off the glob.

I started to laugh.

And I was oh so happy that I still had plenty of frosting left.

IMG_6487

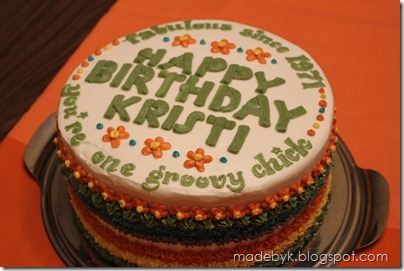
So I pulled off the squashed flowers and stars, heaped some white frosting into the big hole where cake had once existed, rewrote “one groovy”, and piped the needed flowers and stars into place again.

IMG_6491

Good as new.

Maybe next time, I won’t worry about what the table looks like.

IMG_6484

And when one of my sweet children…

  • spills her {insert liquid here} AGAIN….
  • or misplaces her {insert object here}  AGAIN…
  • or forgets to {insert action here} AGAIN…
  • 0r is seemingly “careless” in one of a million different ways AGAIN…

…I will extend grace, remembering that accidents happen.

Monday, May 2

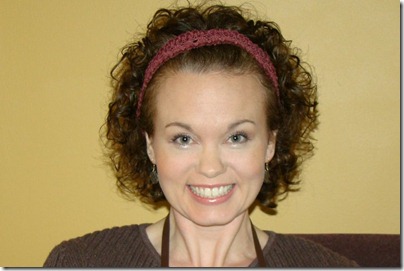
Kristi’s (Sort Of) 70s Birthday Cake

Another fortieth birthday cake…

IMG_6503

…for another friend who is so beautiful, both inside and out!

Krisit photo1

* * *

Figured this cake post might be a good opportunity to set the record straight: my cakes do not always turn out the way I initially envision them. And/or I run into all sorts of problems along the way.

* * *

Cake Vision #1:

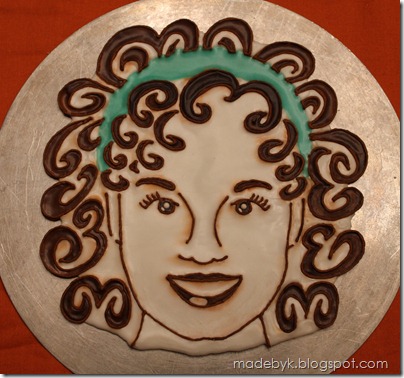
make a huge royal icing Kristi-face to cover the top of the cake.

I got this far. (Made two in case one broke… or had a lazy eye. See it?)

IMG_6508IMG_6507

Issues arose
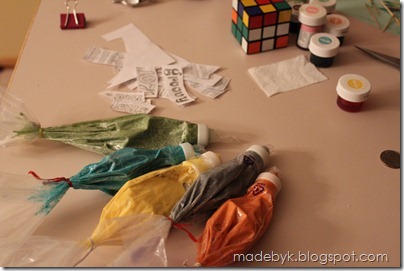
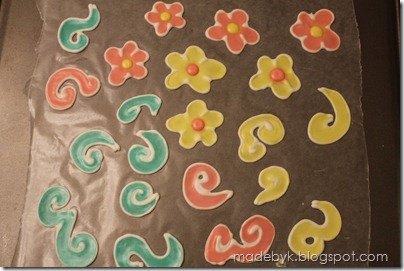
– brown seepage, cracks, globs because I tried to cover the seepage and cracks – but I pressed on and started making more swirls that I was going to put on the rest of the cake.

IMG_6512

Unfortunately, what looked sort of 70s aqua and orange and mustard when I mixed the colors up turned Baby Shower turquoise and pink and lemon yellow as it dried. Especially when placed next to the dark brown.

Ugh!

Time to abandon Cake Vision #1.

* * *


Cake Vision #2:

write a birthday message on the top, using 70s fonts,
and add some 70s-inspired designs to the sides.

I loved this font called Dazzle for the main message…

imageimageimage

…but apparently I still need to work on my two-tone piping technique since my letters came out all green instead of green-fading-to-white like I was going for. Oops.

IMG_6494

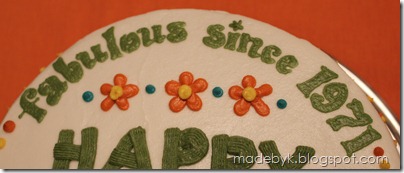
For the other text, I used Elephant Bells as my inspiration.

image

IMG_6504

And for the sides, I’d planned to echo to the Dazzle letters up top with some stripety curvy lines…

imageimage

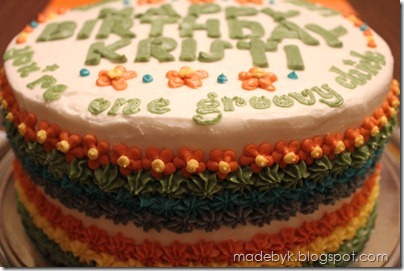
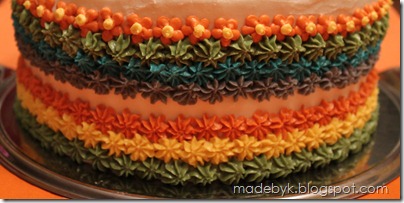
…but using the basketweave tip like for the Dazzle letters, my wrist wouldn’t move as required (and it didn’t occur to me until just NOW, writing this, to use a different tip). Oops. So I opted for rows of stars (and a row of flowers) instead, reminiscent of Saskia’s birthday cake.

IMG_6492

Cake Vision #2 was accomplished!

IMG_6500

Or so I thought.

Before delivering the cake to my friend’s house, I wanted to snap a few photos of the cake. And that’s when my my biggest oops occurred. But this post is already long enough so I’ll write about that later this week…

LinkWithin

Related Posts with Thumbnails