Showing posts with label SFG. Show all posts

Friday, May 8

The Start of Gardening Season

Mmm, we’ve had some gorgeous sunny days, followed by rain, a perfect setup for whipping the yard back into shape.

Got my front door garden filled and planted. Hopefully the flowers will fill out a little more. I had visions of it cascading over the front… I guess we shall see…

IMG_2802

Behind the flowers, I planted a couple rows of various lettuce seeds, in the back corner six spots for sugar snap peas, in the corner behind the post some radishes, and then at two random spots at the back, some allysum—the first spot because Sophie spilled the seed packet there, and the second spot to balance out the first one and make it look intentional. Again, we shall see…

The Square Foot Garden (SFG) area in our side yard is entering it’s third year. (Notes about last year here.) Here’s the “before” at the start of last weekend. IMG_2744

We decided it was time to paint them white (for protection and, well, prettiness) and also to make the square one (installed two years ago, following the slope of the ground) level like the long one (installed last year after we realized level is better, the water doesn’t all pool at the lower side then. Plus, I think it’s, well, prettier.)

Here are some in-process shots. We moved some of the dirt from the square bed into the front door garden. Lucy helped with that part. Later, some neighbor friends joined Sophie in looking for worms. Wow, there were a lot of them! (Good news for our garden.)

IMG_2754IMG_2762
IMG_2761IMG_2755

In all this fun, we missed Heidi, of course, but she’s still off having a fab time with Oma and Opa… The skirt she’s wearing is one Oma finished for her right before their trip.IMG_2671 ed

Back to the SFGs, here’s the “after.” Well, sort of. I should add a second coat of paint. Then we also need to refill the square bed. And of course plant stuff! I can’t wait! (To plant, not paint.)

IMG_2965 
In the back yard, we have two little flower beds right near the patio. The one under the stairs was filled with hostas. Until two (or 3?) years ago that is, when Ken oversprayed with some weed killers. Since then it’s been only half-filled with hostas. He killed one whole row!!! (Hmm, I guess I didn’t take a “before” picture, but empty row is visible in photo of Lucy on slide, last photo.)

So anyway, I divided the remaining ones (which were getting way too big) and also stole a few plants from the other bed. Hopefully any residual poison is gone and the newly planted stuff will thrive. We shall see… IMG_2797

(Note: spray weed killers have been banned from our yard. We now pull out dandelions up with one of those dandelion weeder tools. While more time-consuming, also very therapeutic.)

The second bed in back was filled with perennials when we moved in. But since I largely ignored it and didn’t know what I was doing when I did give it some attention, it’s a bit of a mess these days. I tried to clean out what I thought were weeds. And also grouped what I think are good plants near each other again, instead of spaced out all over the bed. What do you think?

IMG_2798

Hush up, people, that is the “after.” Maybe I should clean up a little more of the straw. Oh, and see the tulip, bottom left. It’s my one and only tulip. Not sure where it came from. Just appeared there 4 years ago. Do tulips migrate? (I really know very little about gardening.)

Lucy didn’t help much with the work in back; instead, spent her time on the slide. I got it from someone on Freecycle with the intentions of building a frame for it last summer. But it works just as well set up on our deck stairs—maybe even better since the stairs offer a much safer way for my 2-year-old to get to the top than the usual ladders you find on slides. Wheeeeee!

IMG_2768

So, how green is your thumb?
Wednesday, June 11

Front Door Garden

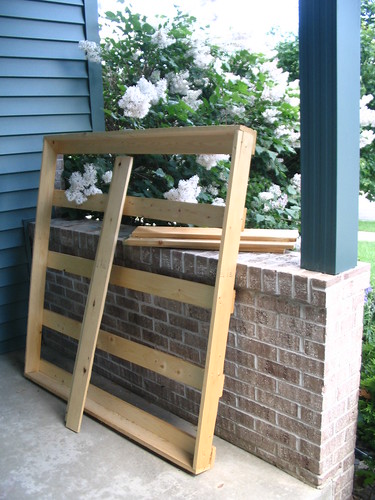
Last year, we got some nice lettuce and spinach from our SFG, but then the weather got too hot and the rest of our stuff "bolted" and turned bitter. Then I read somewhere that salad grows well when it gets just morning sun, so figured a spot by our front door would be perfect. My lettuce experiment is getting started a little later than I would've liked but figured first step is to build the bed. I'll worry about planting it later. So yesterday, I got to wield some power tools and turn this:

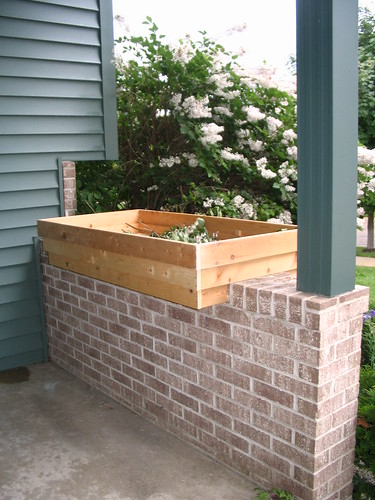
into this:
Well, the 2'x4' plywood bottom isn't shown in the top photo, but everything else came from random wood left in the shed by the previous owners... At first I wasn't sure how it would all go together (wanted to keep the plywood base a little elevated above the top of the wall, needed a way to keep the box from tipping over, etc.) but hooray for Google Sketchup where I was able to model a mock-up, test out ideas virtually, even get the needed dimensions once I'd decided on a design. Mmm, brought me back to my days of teaching Pro/ENGINEER.

And just 'cause I'm a geek and 'cause I love the "sketchy lines" setting in Sketchup, here's a image capture of the virtual box... Anyone need anything modeled? (as in virtual 3D, not catwalk) Suz, I think I hear bunk beds calling my name next... : )

Next, sanding, painting, mixing dirt, planting (lettuce seeds and probably a few flowers too). Better get a move on or it'll be 2009 before I harvest any salad.

Thursday, June 5

This year's "SFG"

How is it already June and I still haven't posted anything about our Second Annual Attempt To Grow Something, a.k.a. gardening. We had so much fun with our little 4'x4' Square Foot Garden (SFG) last year:
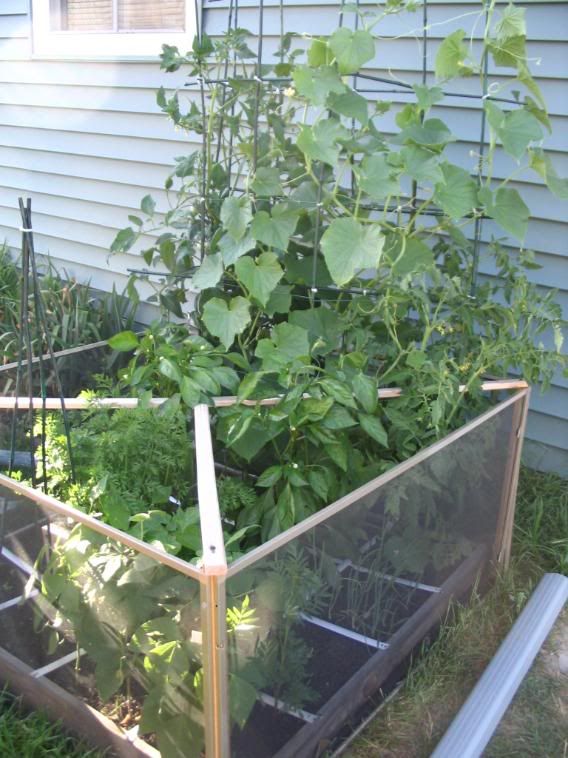
On the left is when we'd just built our first square, not sure we'd even planted anything yet. And on the left is how it looked halfway through the summer. At that point, we still had beans, green onions, carrots, tomatoes, peppers, and cukes. And we'd already enjoyed lots of lettuce and spinach as well as radishes. (For more images--132 of 'em!--and captions, click here.)

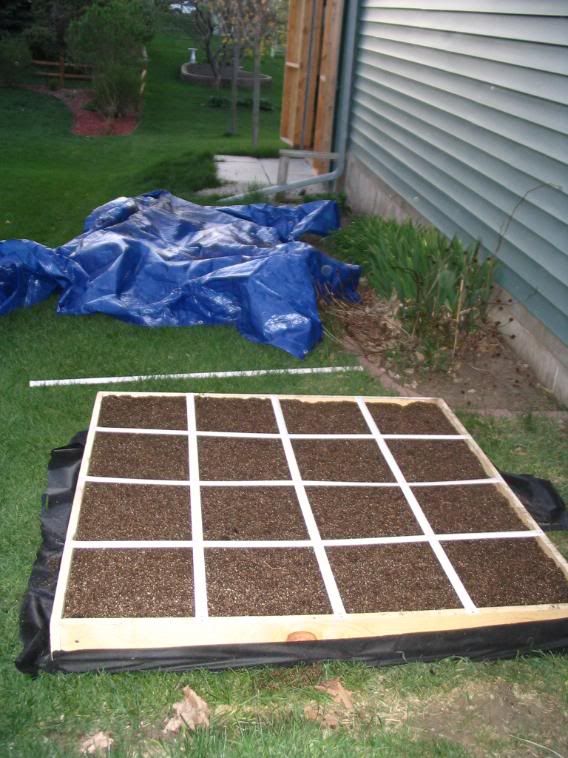
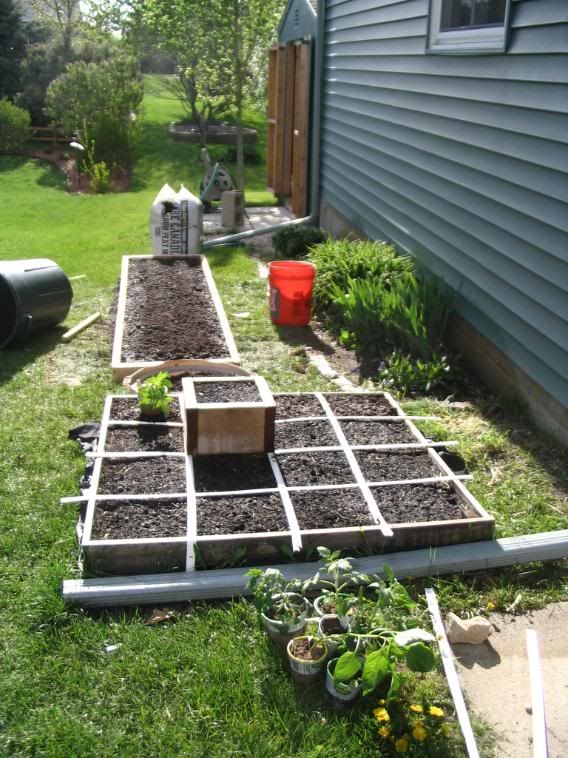
This year, we decided to expand, doubling our area with a new 8'x2' bed. Instead of using groundcloth between the grass and our growing soil like last year (grass still grew through), we're trying something new and using cardboard. Then we filled it up with "Mel's Mix" (1/3 compost, 1/3 peat moss, 1/3 coarse vermicullite). We'll need to add some sort of trellis too, since we plan to put all the tall stuff in this bed this year.

To get last year's square ready, all we had to do was add some new compost to the "Mel's Mix" already in there and smooth it out. Well, that was my plan. But then I started finding the "seeds" (a.k.a. stones) that Heidi had planted this spring. So I ended up going in with both hands and mixing it all up, plucking out stones when I found them. Ah, I do love the feel of light, crumbly soil slipping between my fingers!

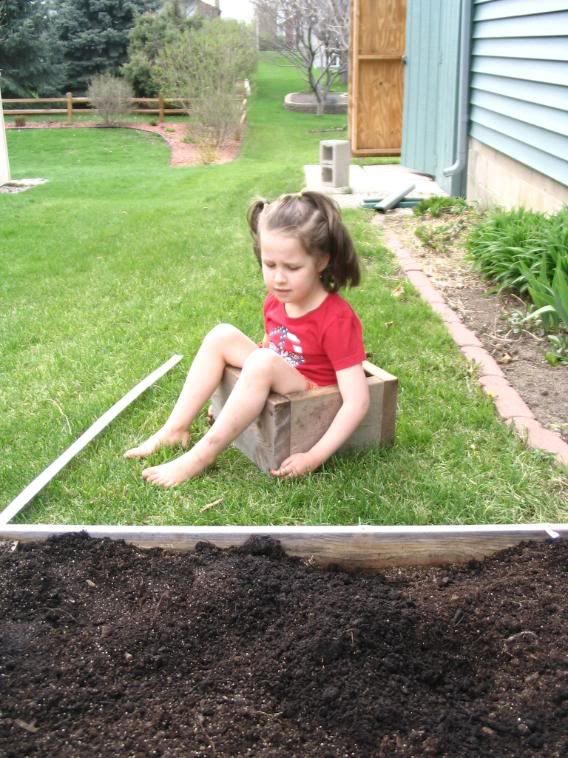
While I worked, the older girls were out with me, asking questions, digging around, being silly. I asked Heidi to go find the "carrot tower" in the shed, describing to her four pieces of wood nailed to form a square. She lugged it out and was messing around with it. Next thing I know, I hear, "Mommy, I'm stuck!" Am I a bad mom for just laughing when she continued with "No, don't take a picture! Come here and help me please!"? (She wasn't very stuck; I told her to lift herself out and she had little trouble doing that. It even became a game for the next while: get stuck, lift out, get stuck, lift out, etc.)
On the right, you can see the carrot tower in place in the square bed (as well as the now-soil-filled long bed and, in the foreground, some of the seedlings that are going in the long bed). Since the beds are only 6 inches (15 cm) deep, we give the carrots extra room to grow by putting this "tower" on their square and planting the seeds at the top surface of the tower. Even with that extra space, some of my carrots last year still made it all the way down to the groundcloth, then starting to grow a little bubble at the end of their taper since they couldn't grow deeper. A funny little surprise when I pulled them up...

LinkWithin

Related Posts with Thumbnails